MockoFun is a free online photo editor similar to Photoshop.
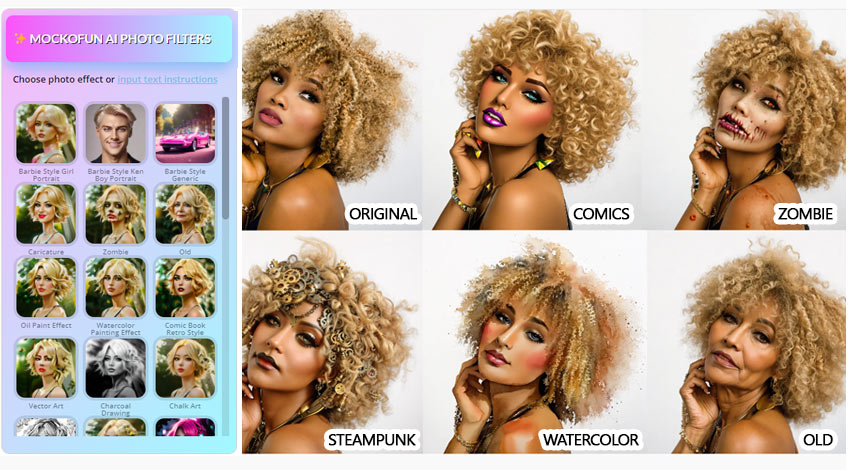
With a wide array of photo editing tools, MockoFun allows you to edit your photos. Let MockoFun free online AI photo editor simplify your manual photo editing tasks. AI photo filters, quick photo edit, photo enhance in just a few seconds. Try AI photo editing now!
Wouldn’t it be great if you could do your photo editing online?
With MockoFun photo editing is really easy to do. In this tutorial I will show you how to edit your photos online, without the need for complicated software like Lightroom or Photoshop, and it’s 100% free.
Here’s only a few of the online photo editing features of MockoFun:
Let’s get started!
Go into MockoFun and upload your photo. You will find the Upload button in the menu on the left. Then simply drag and drop your photo in the drop area or use the button that says Upload Your Images.
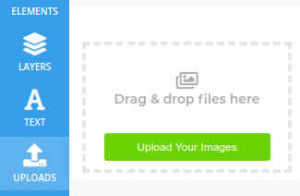
Once you upload your photo, it will appear in the list of uploads and you can click on the photo to add it to the work area.
Crop Image Online
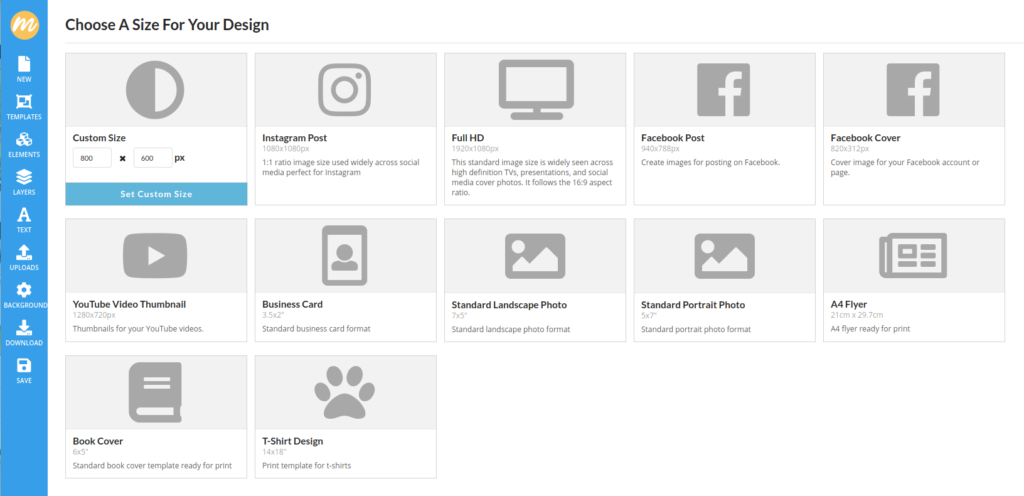
With MockoFun you can easily crop image online in just a few steps. First, open MockoFun and create a new document. By default MockoFun will create a work area that is 800x600px, but you can choose one of the document presets or input a custom size. Upload your image and resize it to fit the screen.
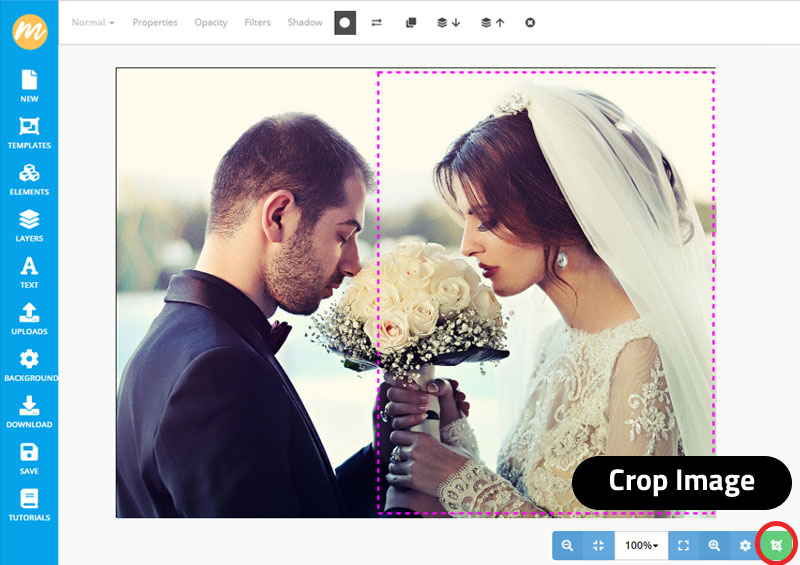
MockoFun has an easy to use photo crop tool. To crop photo online, simply click on the Crop Image button from the bottom left menu.
Draw a rectangle shape using your mouse to crop photos:
- Click Enter to apply the crop photo effect
- Click Esc to cancel the photo crop editor
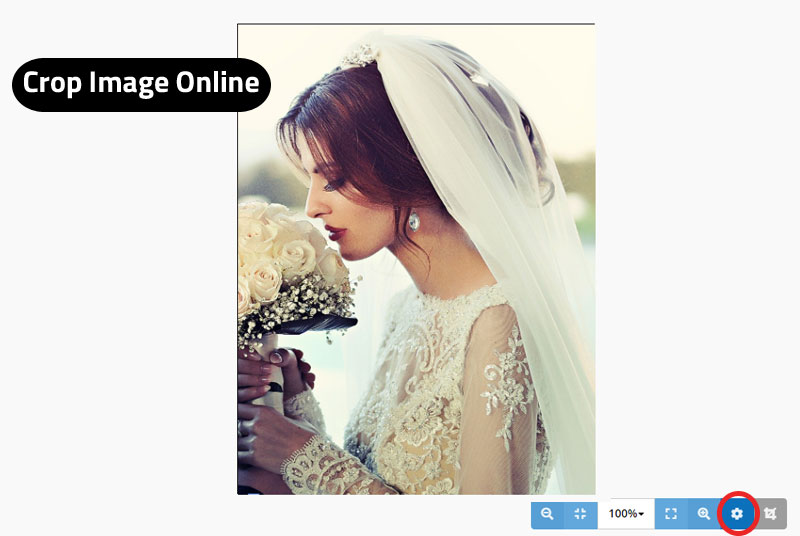
What is great about our crop photo tool is that your photo is not actually cut. So, you can still resize it, drag it on the screen, etc.
Near the Crop Image button you have a Canvas Settings button that you can use to input the width and height of your photo.
It’s simple to crop photo free with MockoFun. After you cropped the image you can Download the result.
Simple Photo Transform:
Resize, Rotate, Straighten, Flip or Skew Your Photo Online
The most basic photo processing that you can do with MockoFun are transforms:
Resize Photo Online
How to Resize Your Image Online With MockoFun
With MockoFun you can easily change the size of your photo. First, open MockoFun and create a new document. By default MockoFun will create a work area that is 800x600px, but you can choose one of the document presets or input a custom size.
Choose the document size according to the size of your resulting image.
Then go to Uploads and click on the photo you uploaded previously, or upload a new photo. Click on the uploaded photo and it will be added to the work area.
If you click on the photo in the work area, you will be able to drag it around. Holding down Shift while dragging will snap the photo to the vertical or horizontal center of the work area. This is very helpful if you want to center the image.
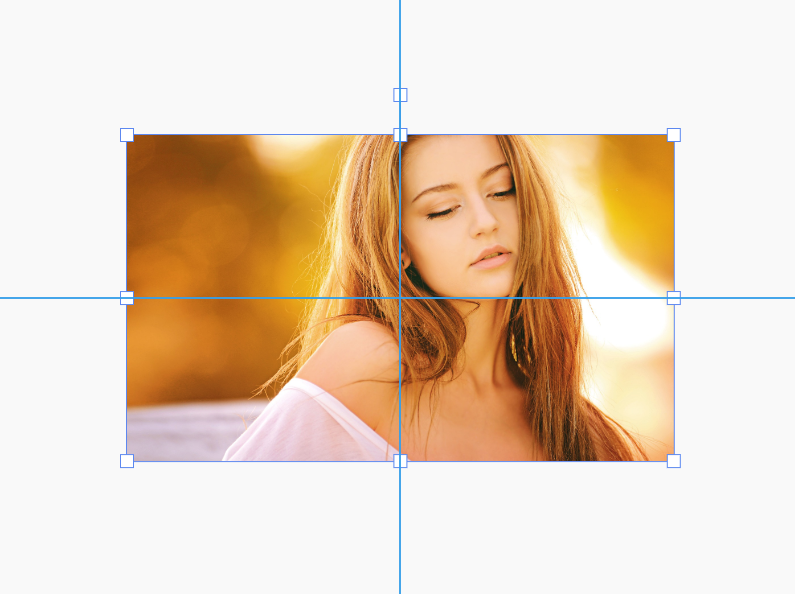
To resize the image, drag the corner handles.
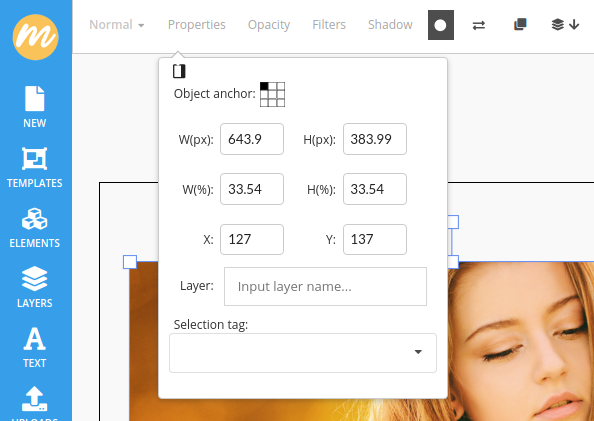
If you need to be more precise when resizing the photo, use the Properties panel. Simply input the width, height or position in the appropriate fields. The size of the image is given either in pixels or as a percentage of the original size.
One quick tip:
If you want to resize the image beyond the work area edges, you might need to use the Zoom out button in the bottom right of the screen.

In this way you have another method to resize and crop your image. Give this a try now!
Rotate Image Online
How to Rotate Your Image In MockoFun
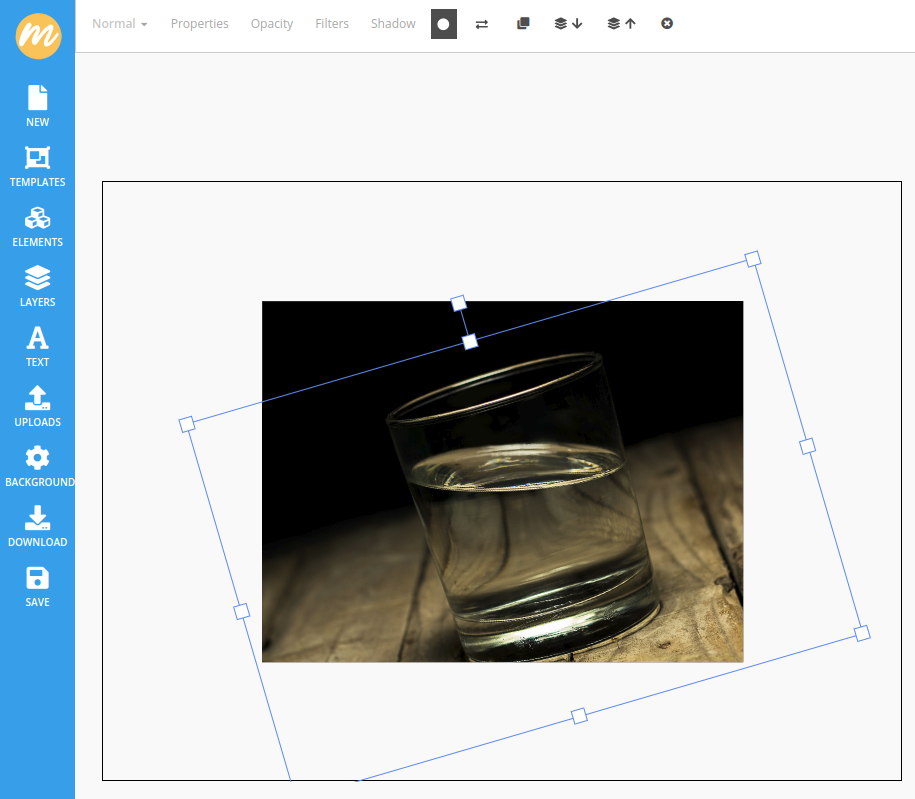
To rotate an image use the handle on the top of the image and drag left or right.
For more control on how you rotate your image try holding down Shift when rotating. This will rotate the image in 15deg increments.
How to Straighten a Photo In MockoFun
Unless you use a tripod when taking a photo, chances are that the photo will be slightly crooked. MockoFun can help you straighten your photos.
Resize the photo to make it slightly bigger than the work area. Then, use the rotate handle to straighten the photo.
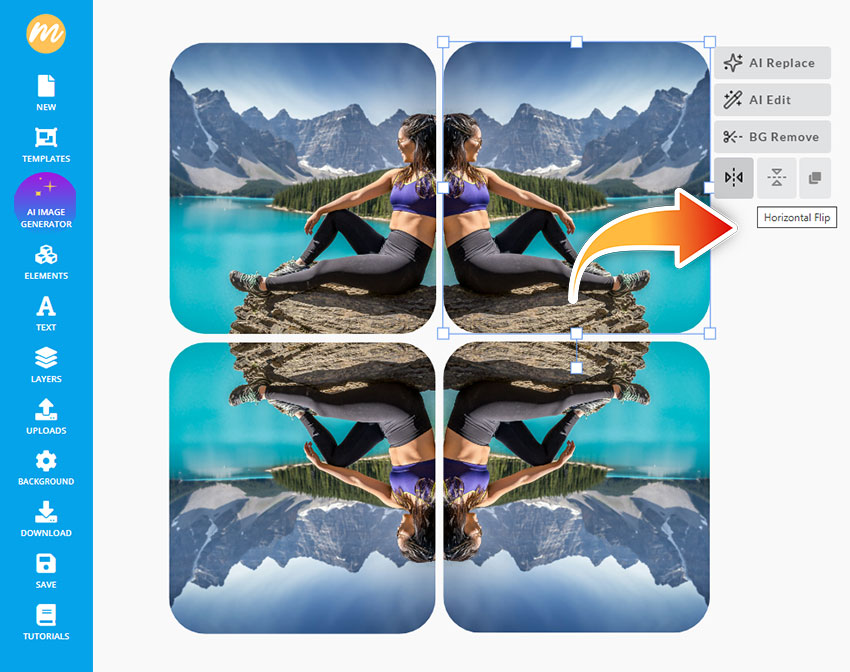
How to Flip an Image Horizontally and Vertically
Here’s a cool trick:
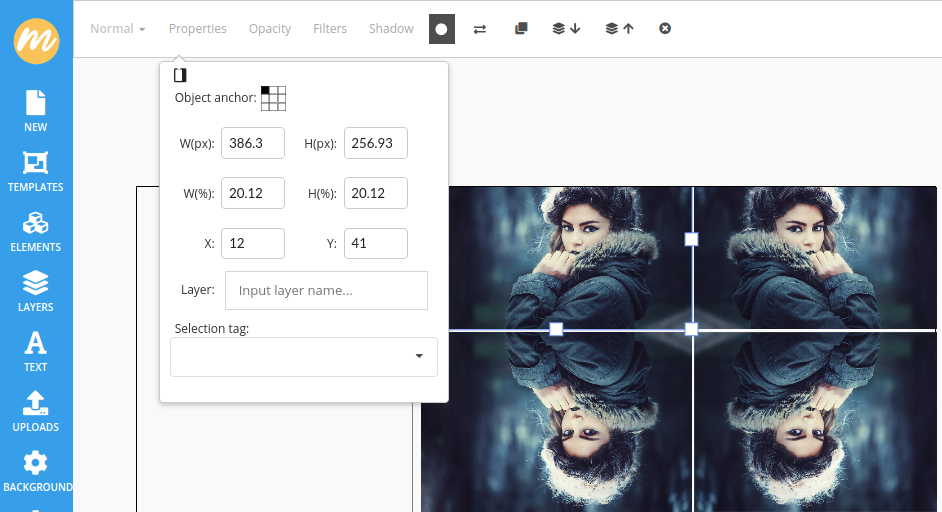
Select your image and go to Properties. In the Width field add a minus (-) in front of the value. This will mirror flip your image on the horizontal.
Do the same for the Height field and you will flip the image on the vertical.
For quick results use the Flip Horizontally and Flip Vertically buttons. Create mirror image effect easily!
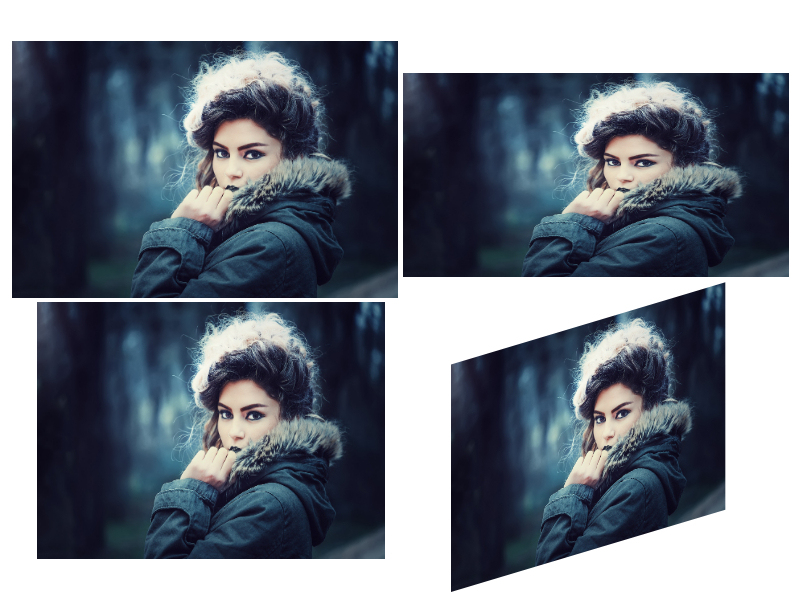
How to Distort Your Image with MockoFun
It’s very easy to do some simple image distort with MockoFun.
If you resize your image using the left, right, top or bottom handles, then you will stretch or squeeze your image.
You can do the same if you hold down Shift and drag the corner handles.
How about if you hold down Shift while dragging the left, right, top or bottom handles? This will skew your image on the horizontal or the vertical. Experiment with these and get some really cool 3D looking effects for your photos.
How To Make A Photo Square
Making a photo square is very useful. For example, when posting to Instagram, it’s best that you make your photo fit Instagram’s square post format. According to this article, the recommended square post photo format for Instagram is 1080x1080px.
So, let’s create a new document in MockoFun and use the predefined Instagram post format.
Then simply add the photo you want to make into a square to the work area, resize it and position it as you want.
Use the Download button and choose JPG or PNG as the output format to get the square photo.
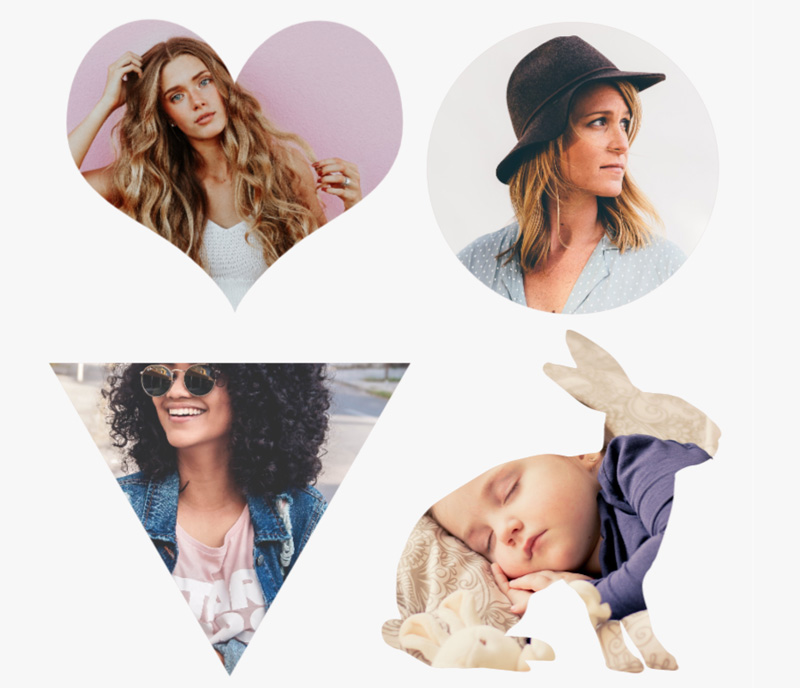
How To Crop A Photo Into A Circle
Yes, you can crop a photo into a circle, online, in MockoFun. Actually, you can crop a photo into any shape using MockoFun.
How?
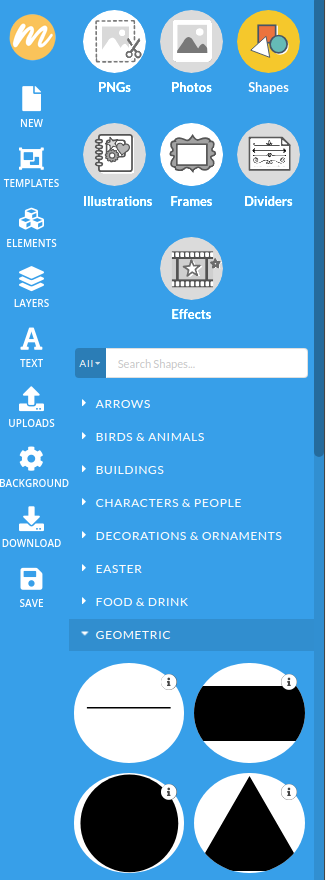
Create a new square document (same width and height) and add your photo to the work area. In the menu on the left go into Elements > Shapes > Geometric and pick the circle shape to add it to the work area. Resize and position the photo and circle as needed.
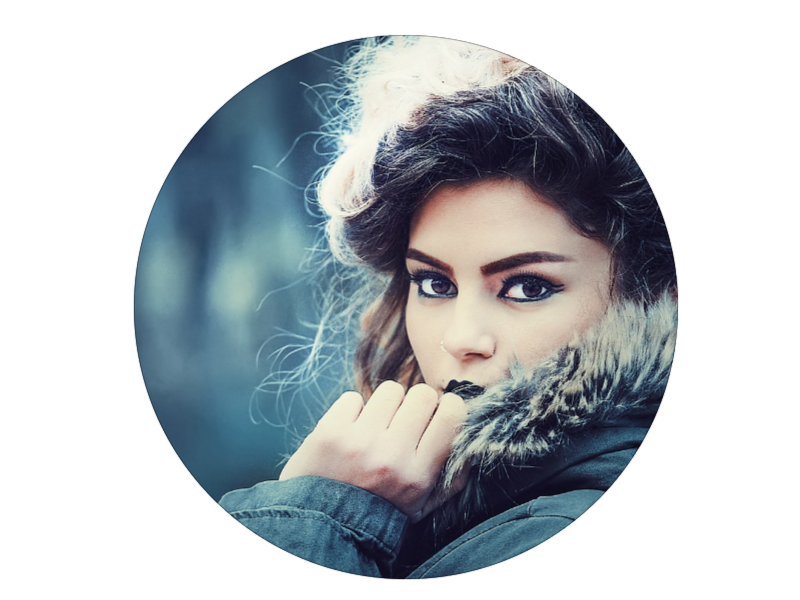
To crop picture into circle you have to:
- select the photo
- click the Add mask (
 ) button
 - then choose the circle to pick it as the mask
That’s it! You can now download your photo as PNG to get a photo into a circle and with transparent background.
You can get really creative results using masks in
MockoFun, so if you want to find out more, check out our mask tutorial on how to
crop pictures into shapes in three easy steps.
How To Change Image Colors Online
You don’t have to have Photoshop or Lightroom to change image colors. You can do it online using MockoFun.
There are a lot of color adjustments that you can do in MockoFun, and we have dedicated tutorials for them. Here I will quickly go over some of the quick adjustments that you can do:
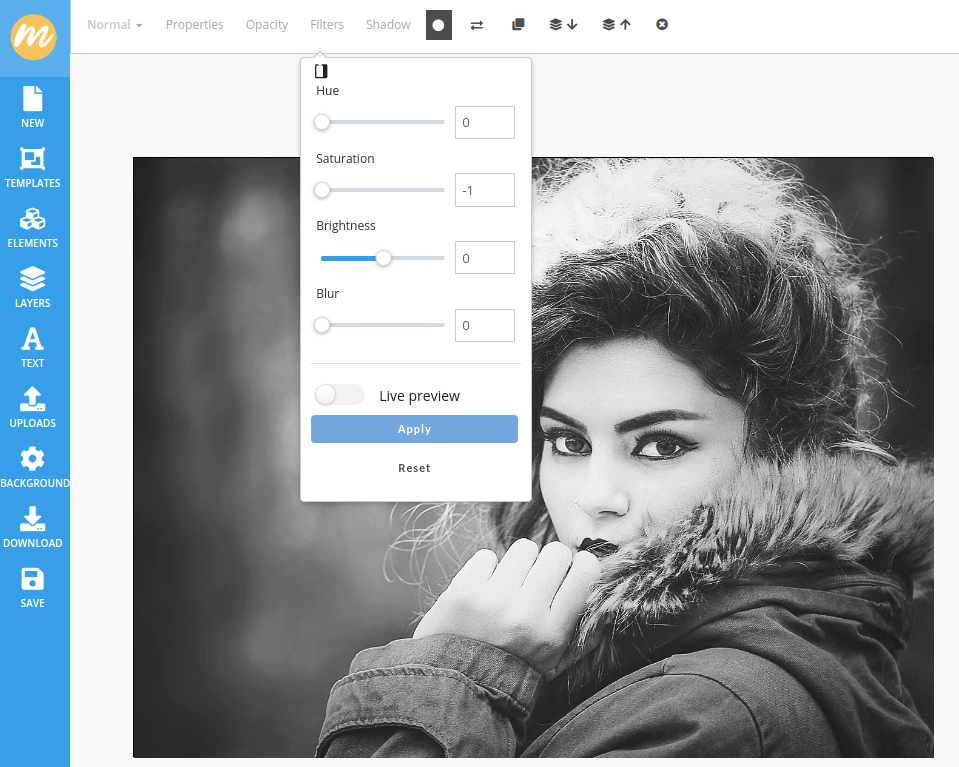
How to Make Your Image Black and White Online
This is probably the easiest color change you can make in MockoFun.
Select the image in the work area and go to Filters in the top menu. Slide the Saturation knob all the way to the left and click Apply.
That was easy, right?
Of course, this is a very basic effect, and you might want to get some extra control over the black and white transformation.
I won’t go into the details here, but you can check out our premade templates for making a photo black and white (portrait) and black and white (landscape).
These templates use a different technique for making the photo black and white.
Open the templates and replace the image with your own image. Then play around with the Brightness, Hue and Saturation adjustments of the image to get different black and white photo effects.
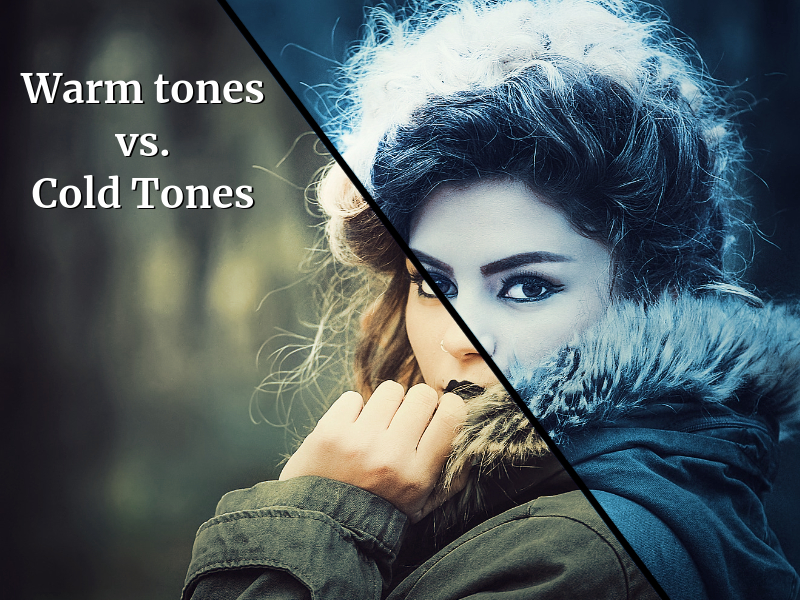
Warm Tones vs. Cold Tones in Photos
Are you familiar with color temperature?
Wikipedia offers a complicated definition for color temperature, but the only thing you need to know about this is that colors towards red, yellow and orange are considered warm tones and colors towards blue, magenta and cyan are considered cold tones.
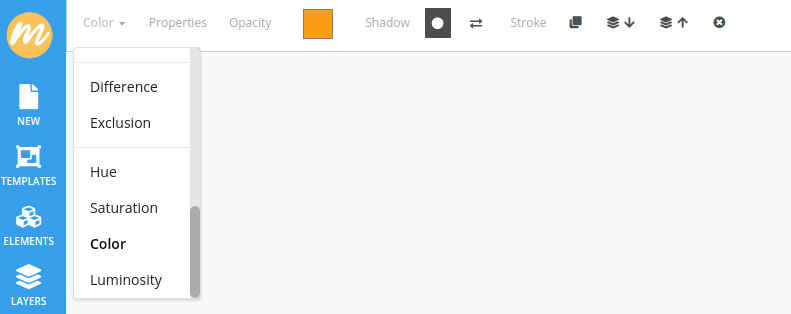
In MockoFun you can change the color tones of your photo to make them warmer or colder by adding a color fill on top of your image.
You can do this by going to Elements > Shapes > Geometric and add a square shape. Resize the square shape such that it covers the entire work area and your image.
Select the square shape and from the blending mode drop-down choose Color or Soft Light. Then, change the square color to a nice orange for making your photo tones warmer or a nice blue-cyan color for making the photo tones colder. Adjust the intensity of the effect by changing the Opacity setting for the square element.
For the 2 effects in the image above I used orange (#ff9d00) and blue (#00abff) with an Opacity value of 0.3.
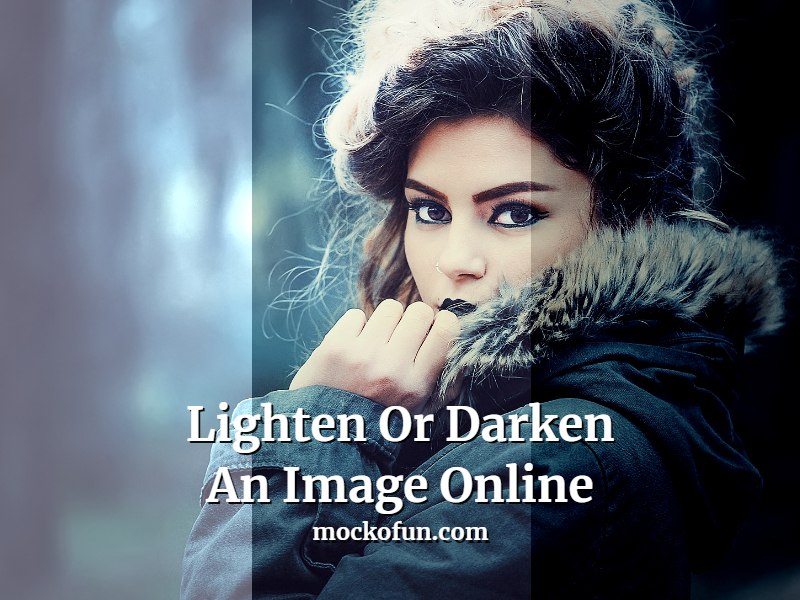
How to Darken An Image And How To Brighten An Image
To darken or brighten an image online in MockoFun, click on your image and use the Filters > Brightness slider.
Pull it to the left and make the image darker, pull it to the right and make the image brighter. Click the Apply button or to view the changes as you make them, switch on the Live preview button.
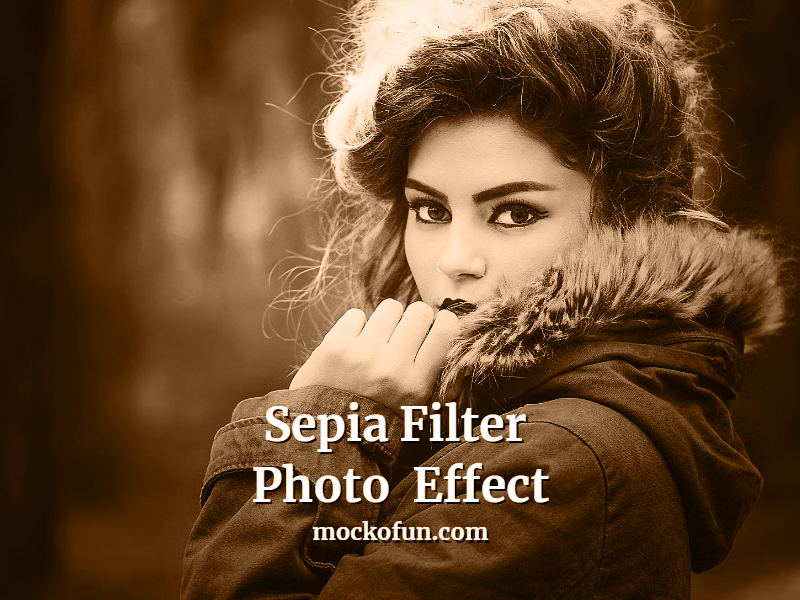
How to Apply a Sepia Filter to an Image In MockoFun
Blending modes in MockoFun are really a powerful tool. They give you so many options for creating so many effects and photo filters.
To apply a sepia filter to your image simply go to Elements > Geometry and choose a square to add over your image. Change its color to a sepia like color (for ex: #9f7851 is a nice sepia tone).
Switch the blending mode of the square to Color and you should get a sepia tone photo like this:
This is a very basic sepia filter. You should also check out the more advanced sepia filters premade templates.
Try experimenting with blending modes to get other photo filter effects.
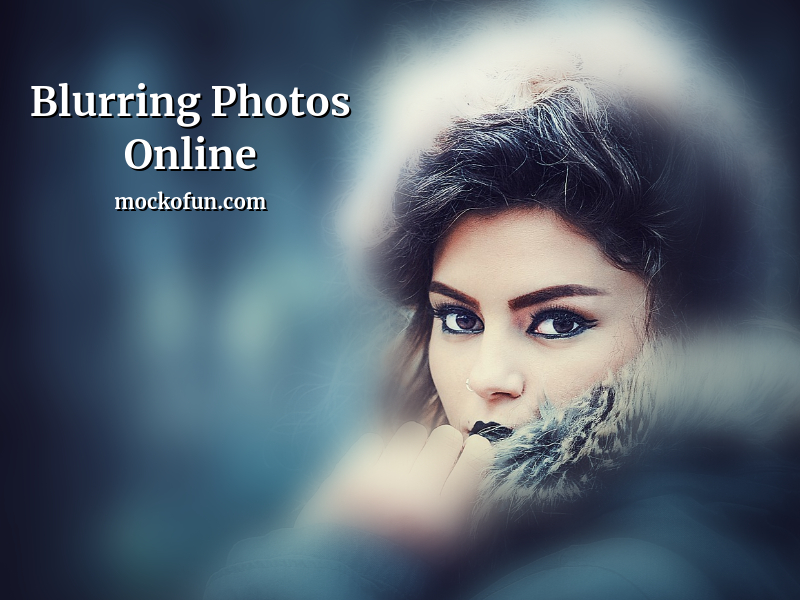
How To Add Image Blur Online
In the Filters panel for the photo, you probably noticed that next to Hue, Saturation and Brightness adjustments there’s a Blur slider.
You might ask: why do I need a photo editor that blurs images?
There are a lot of creative effects you can make with MockoFun and the blur filter. From blurring the background of your images to tilt shifting effects and more. Here’s just a simple example of what you can do with blurring an image in MockoFun:
To get this blurred photo effect I actually duplicated the original photo. Then, for the image on top I increased the value under the Filters > Blur. Because my goal was blurring the background, I also added the Blur Circle Mask mask from Frames > Vignettes & Masks to the layer containing the blurred image. I positioned the mask over the subject then apply the mask.
That will make the background sharp, and the subject blurry. But, what I need is the reverse.
To invert the mask, you have to go to Layers then click the Invert Mask button ( ).
).
Done!
Read the blur photo online tutorial for more detailed instructions, tips and tricks.
If you like this image with blurry background effect, check out our more detailed photo editor tutorials for MockoFun and search for tutorials on masking.
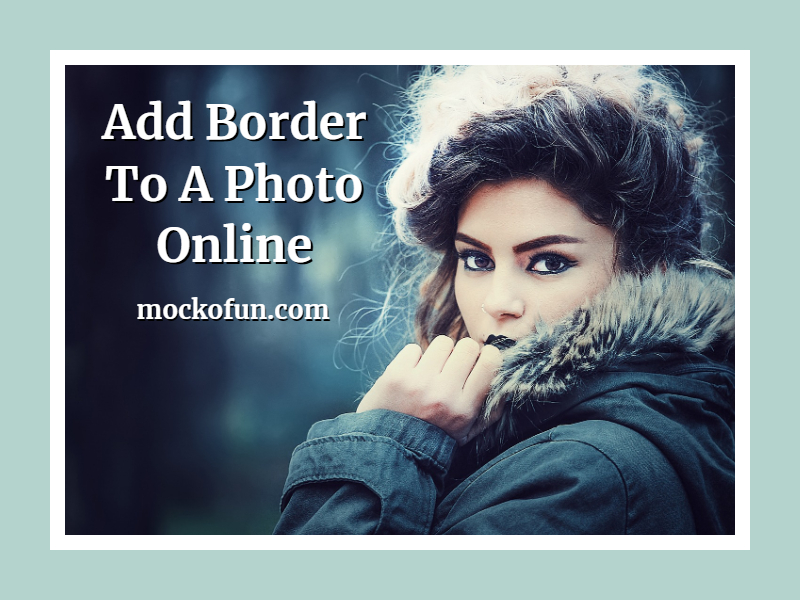
How To Add A Border To Your Photo Online
When I do my photo editing I like to add a border or a frame to my photos. In MockoFun you have a lot of options for adding a border or frame to your photos.
In fact, there’s a special category under Elements called Frames where you will find many borders for pictures. Check it out!
But, the easiest way to add a frame to your photo is by using a square from the Elements > Shapes > Geometric category. Add the square over your photo and change its color to transparent.
Then use the Stroke settings and make the photo border. Choose the color of the border and the size. For this example I used a 50px photo border, color #b5d3cd and an 80px extra white border:
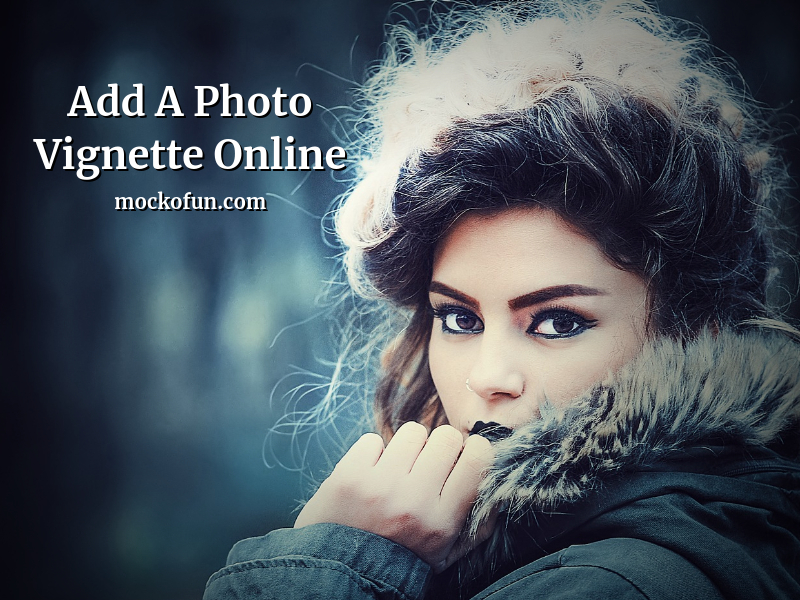
How To Add A Photo Vignette Online
Artistically, you can use vignettes to lead the eye towards the subject of your photo.
In MockoFun there’s an entire category dedicated to vignette borders. You can find it under Elements > Frames > Vignette & Mask. Check out the Mask Round and Mask Round 1 vignettes. Add one of them over your photo and adjust the size to match your image. Make the vignette black by going to Filters and dragging Brightness all the way to the left.
You can adjust the intensity of the vignette effect using the Opacity setting.
Give this a try now!
In Conclusion
These are only a few of the photo editing features of MockoFun.
With MockoFun you have everything you need to edit photos online. Now you know how to crop and resize your images, change colors, blend images together and even add a border of vignette. Go to our photo editor page for more tutorials like this!